Acrylic nails offer a glamorous and convenient way to enhance your natural nails. However, when it’s time to say goodbye to your extensions, the removal process can seem daunting. If you are concerned with how to remove acrylic nails, then this comprehensive guide will equip you with the knowledge and tools needed to safely and effectively remove your acrylic nails at home.
Before You Begin: Understanding the Removal Process
There are two primary methods for removing acrylic nails at home:
- Soaking: This involves submerging your nails in a solution that loosens the acrylic glue, allowing for gentle removal.
- Buffing and Filing: This method involves gently buffing the top layer of the acrylic and then filing it down until it is thin enough to be removed with a cuticle pusher.
Important Safety Precautions:
- Always prioritize safety: Never attempt to forcefully pry off your acrylic nails, as this can damage your natural nails and cause significant pain.
- Gently do it: Be gentle throughout the removal process to avoid damaging your natural nail bed.
- Avoid harsh chemicals: Steer clear of harsh chemicals like acetone on broken or damaged skin, as it can be irritating and harmful.
Preparing for Removal:
- Gather your supplies: You’ll need a nail clipper, a nail file, a cuticle pusher (metal or orangewood), a bowl, cotton balls or paper towels, acetone (optional), non-acetone nail polish remover (optional), and lotion.
- Shorten your nails: Clip the free edge of your acrylic nails as short as possible, making the removal process easier and minimizing the risk of damaging your natural nails.
- Protect your skin: Apply petroleum jelly or cuticle oil around your nails to protect your skin from irritation.
The Removal Process:
Option 1: Soaking Method (with Acetone)
- Prepare the acetone soak: Pour enough pure acetone (100%) into the bowl to fully submerge your fingertips. Important: Ensure the room is well-ventilated as acetone fumes can be strong and harmful.
- Soak your nails: Submerge your fingertips in the acetone for 10-15 minutes, or until the acrylic starts to loosen and lift slightly. Do not exceed 20 minutes.
- Gently remove the acrylics: Once the acrylic begins to loosen, use the cuticle pusher to gently push it away from your natural nail. If the acrylic is still firmly attached, soak your nails for another 5 minutes before attempting removal. Do not force the removal.
- Buff and file: Gently buff away any remaining acrylic residue and file your natural nails to smooth out any unevenness.
- Moisturize: Apply lotion to your hands and cuticles to hydrate and soothe the skin.
Option 2: Buffing and Filing Method (without Acetone)
- Gently buff the top layer: Using a nail file with a fine grit (240 or higher), carefully buff the top layer of the acrylic to remove the shine. Be gentle and avoid filing your natural nails.
- File down the acrylic: Slowly and carefully file down the acrylic until it is thin enough to be removed with the cuticle pusher. Start with a coarse grit (180) and gradually move to a finer grit (240 or higher) as the acrylic thins.
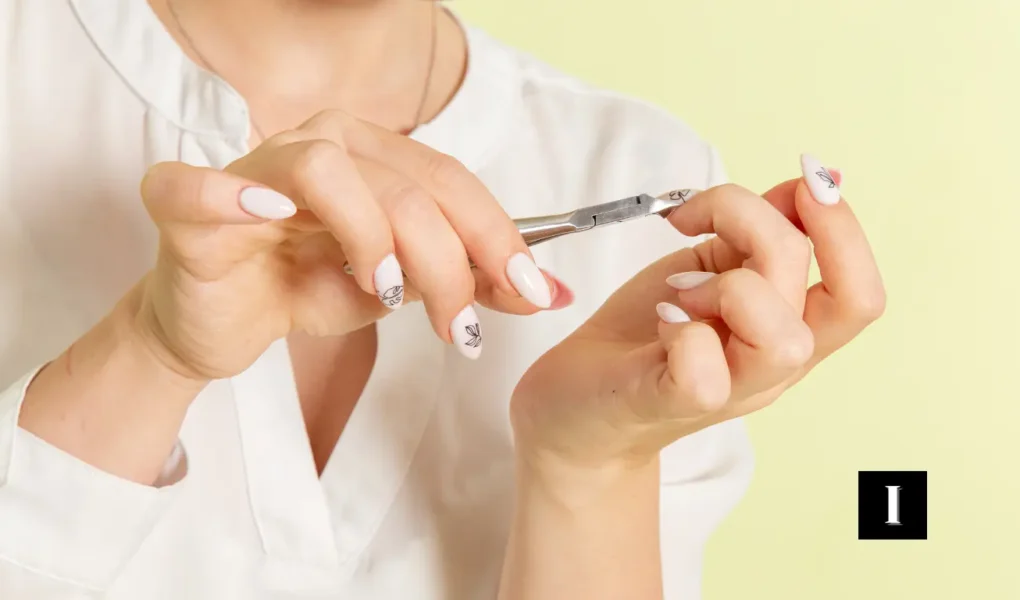
- Use the cuticle pusher: Once the acrylic is thin enough, gently use the cuticle pusher to remove it from your natural nail. Be very careful not to scrape or damage your natural nail bed.
- Buff and file: Gently buff away any remaining acrylic residue and file your natural nails to smooth out any unevenness.
- Moisturize: Apply lotion to your hands and cuticles to hydrate and soothe the skin.
Aftercare Tips for Healthy Nails:
- Give your nails a break: After removing your acrylics, avoid applying artificial nails for at least a few weeks to allow your natural nails to breathe and recover.
- Focus on recovery: Nourish your natural nails with cuticle oil and hand lotion to promote healthy growth and prevent brittleness.
- Maintain proper nail hygiene: Regularly practice good nail hygiene by keeping your nails clean and trimmed, and avoid biting or picking at your nails.
- Consult a professional: If you experience any pain or discomfort during the removal process, or if your nails are damaged, seek help from a professional nail technician.
Additional Tips:
- If you’re unsure which method to choose, the buffing and filing method (avoiding acetone) is generally considered safer for beginners and those with sensitive skin.
- Consider using acetone-free nail polish remover if you wish to avoid the harsh chemicals of acetone. However, it may require a longer soaking time or repeated
Conclusion
Removing acrylic nails at home can be safe and successful when done with the proper knowledge and care. Remember, prioritize gentle removal techniques, prioritize safety over speed, and don’t hesitate to seek professional help if needed. With a little patience and these helpful tips, you can gracefully say goodbye to your acrylics and welcome back your healthy, natural nails.
Embrace the beauty of your natural nails and enjoy the freedom of experimenting with different colors and styles of nail polish!